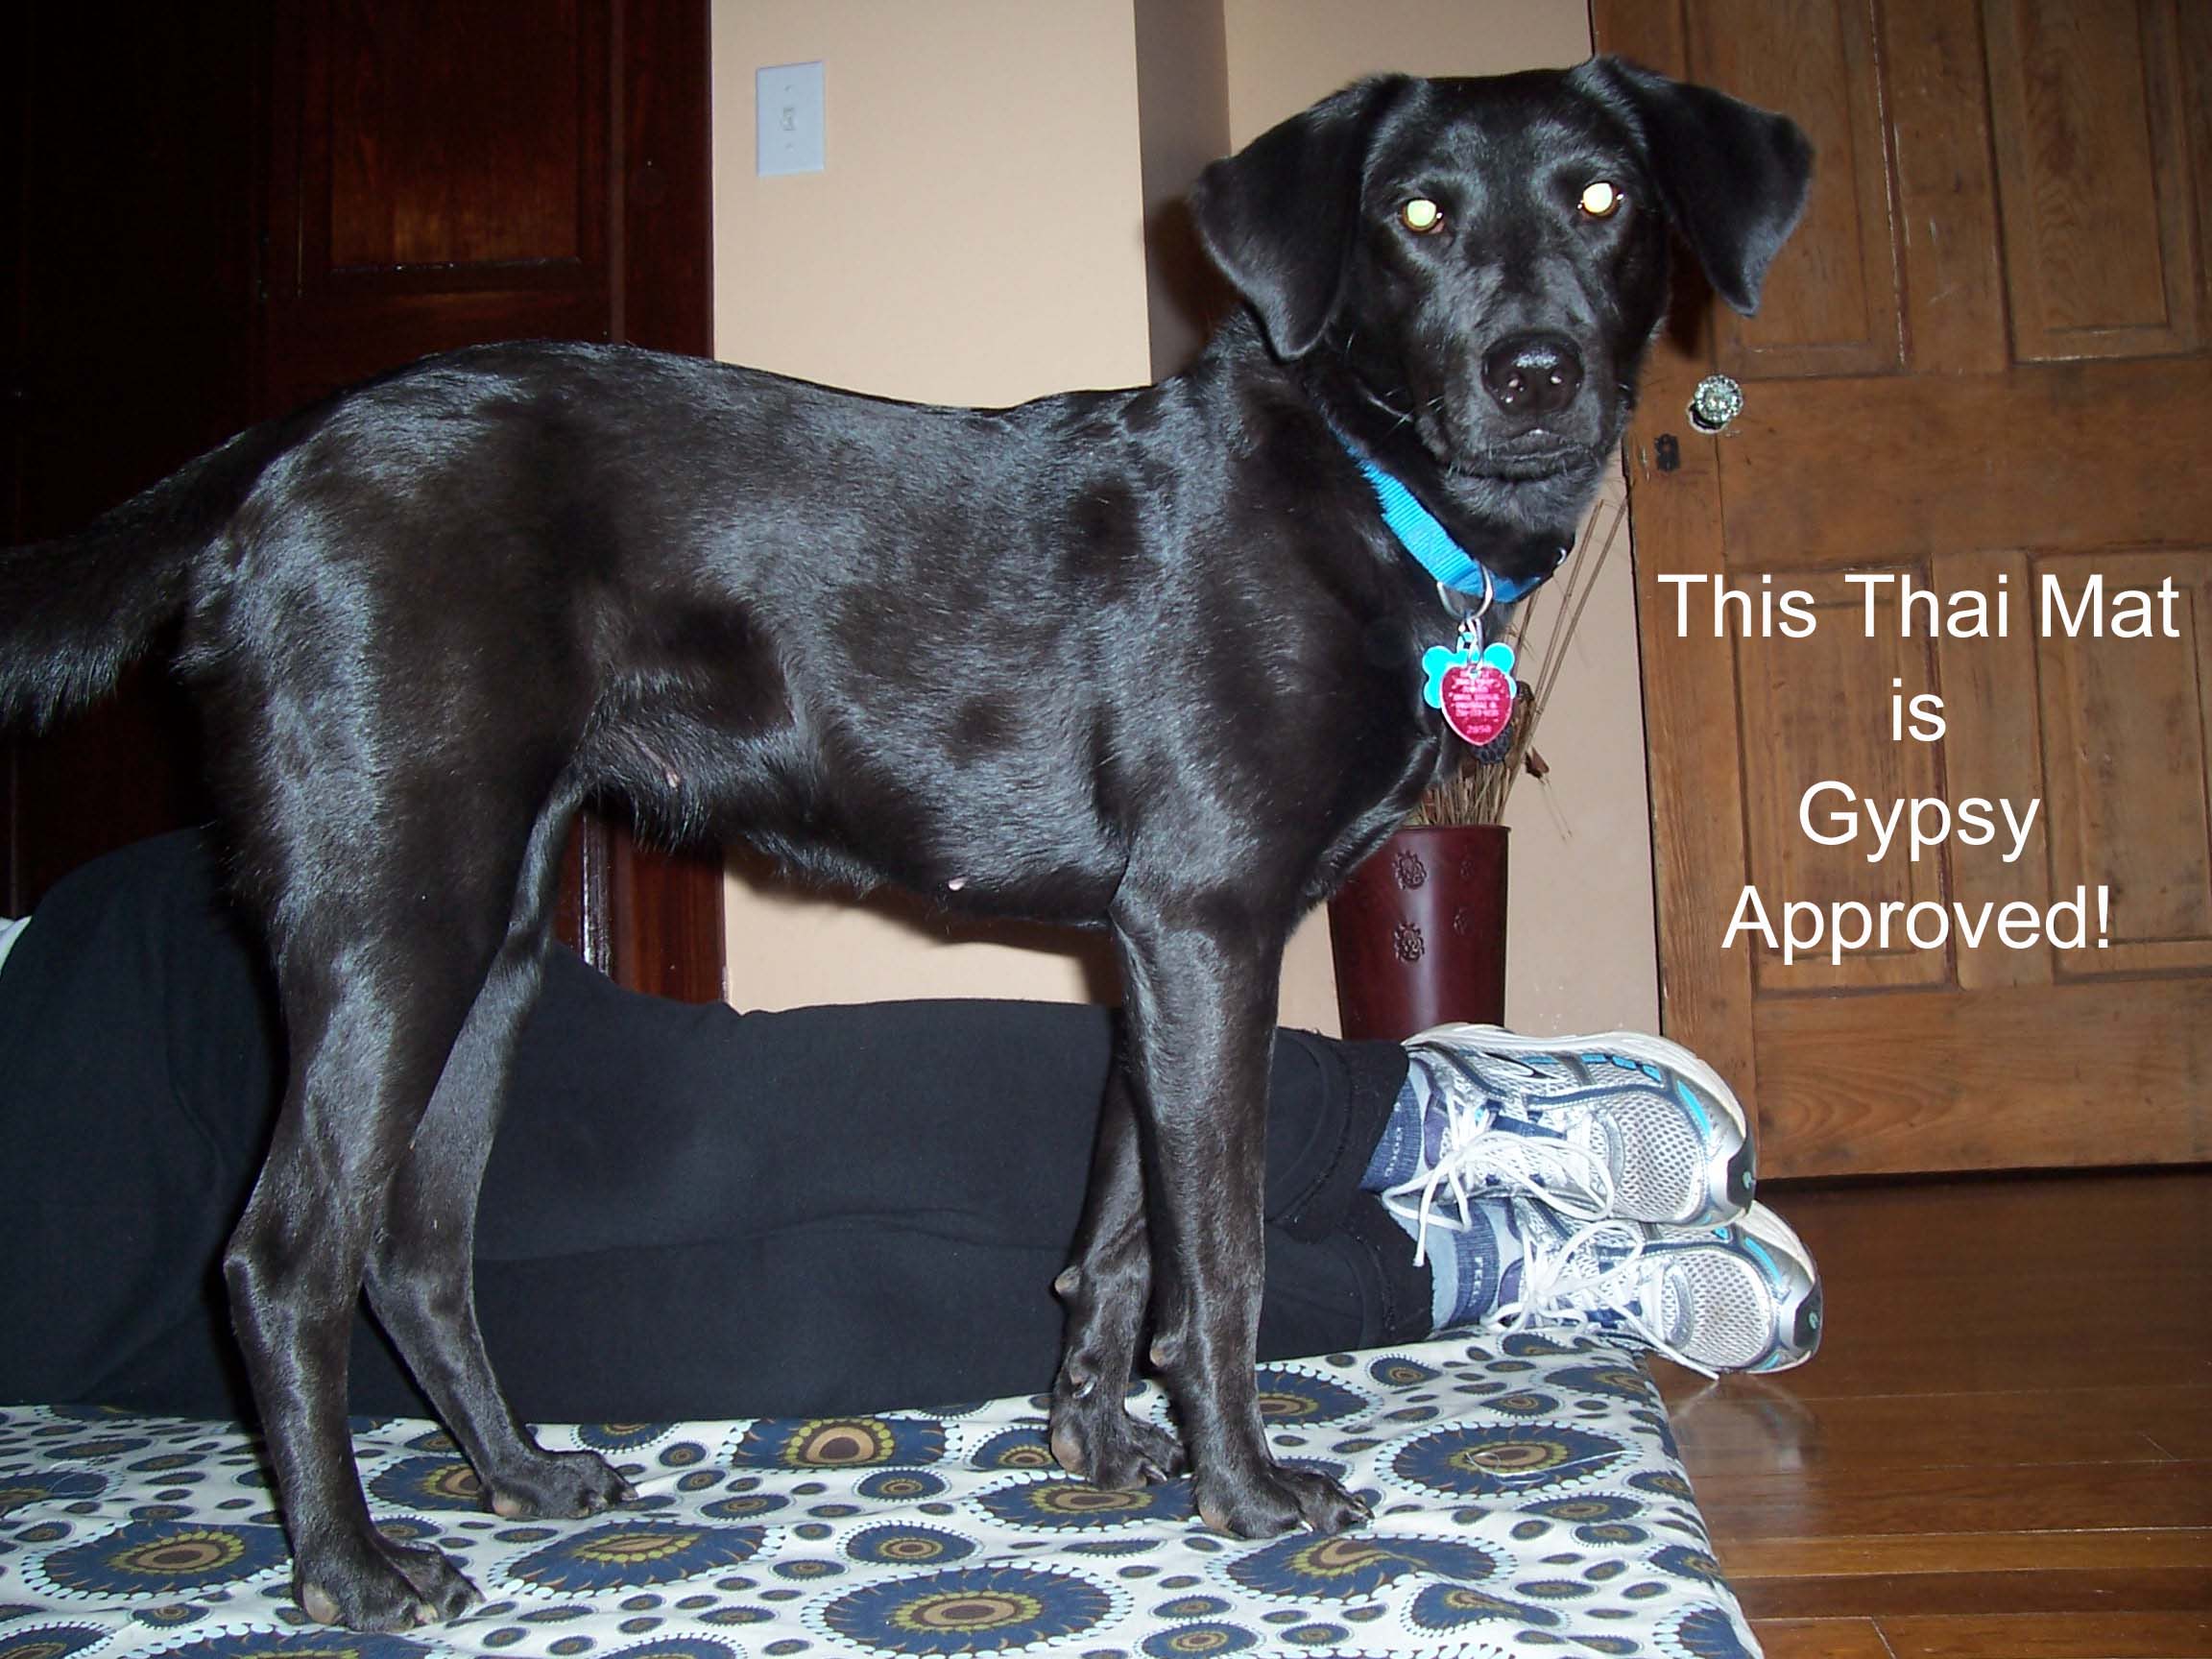
 Don’t you love it when a plan comes together? It’s taken long enough to get this Thai mat done anyway. I took my first Thai mat class back in late November. Then December happened which is always a very busy month between all the stressed out clients wanting last minute appointments before the holidays and then the holidays. Then there was January with everyone trying to recover from the holidays and all those resolutions. I don’t remember exactly when I made the first phone call to kick this project off, but I thought it might be something interesting to do a little tutorial on because it was easy and kind of cheap if you have the skills and hardware.
So for you interested folks, here is how I made my very first homemade Thai mat. Before you begin thinking I’m a genius for dreaming this up, I was inspired by a certain someone who I met during my Fijian Barefoot massage class in Nashville.
How to Make a (Stripped Down on the Cheap) Thai Mat
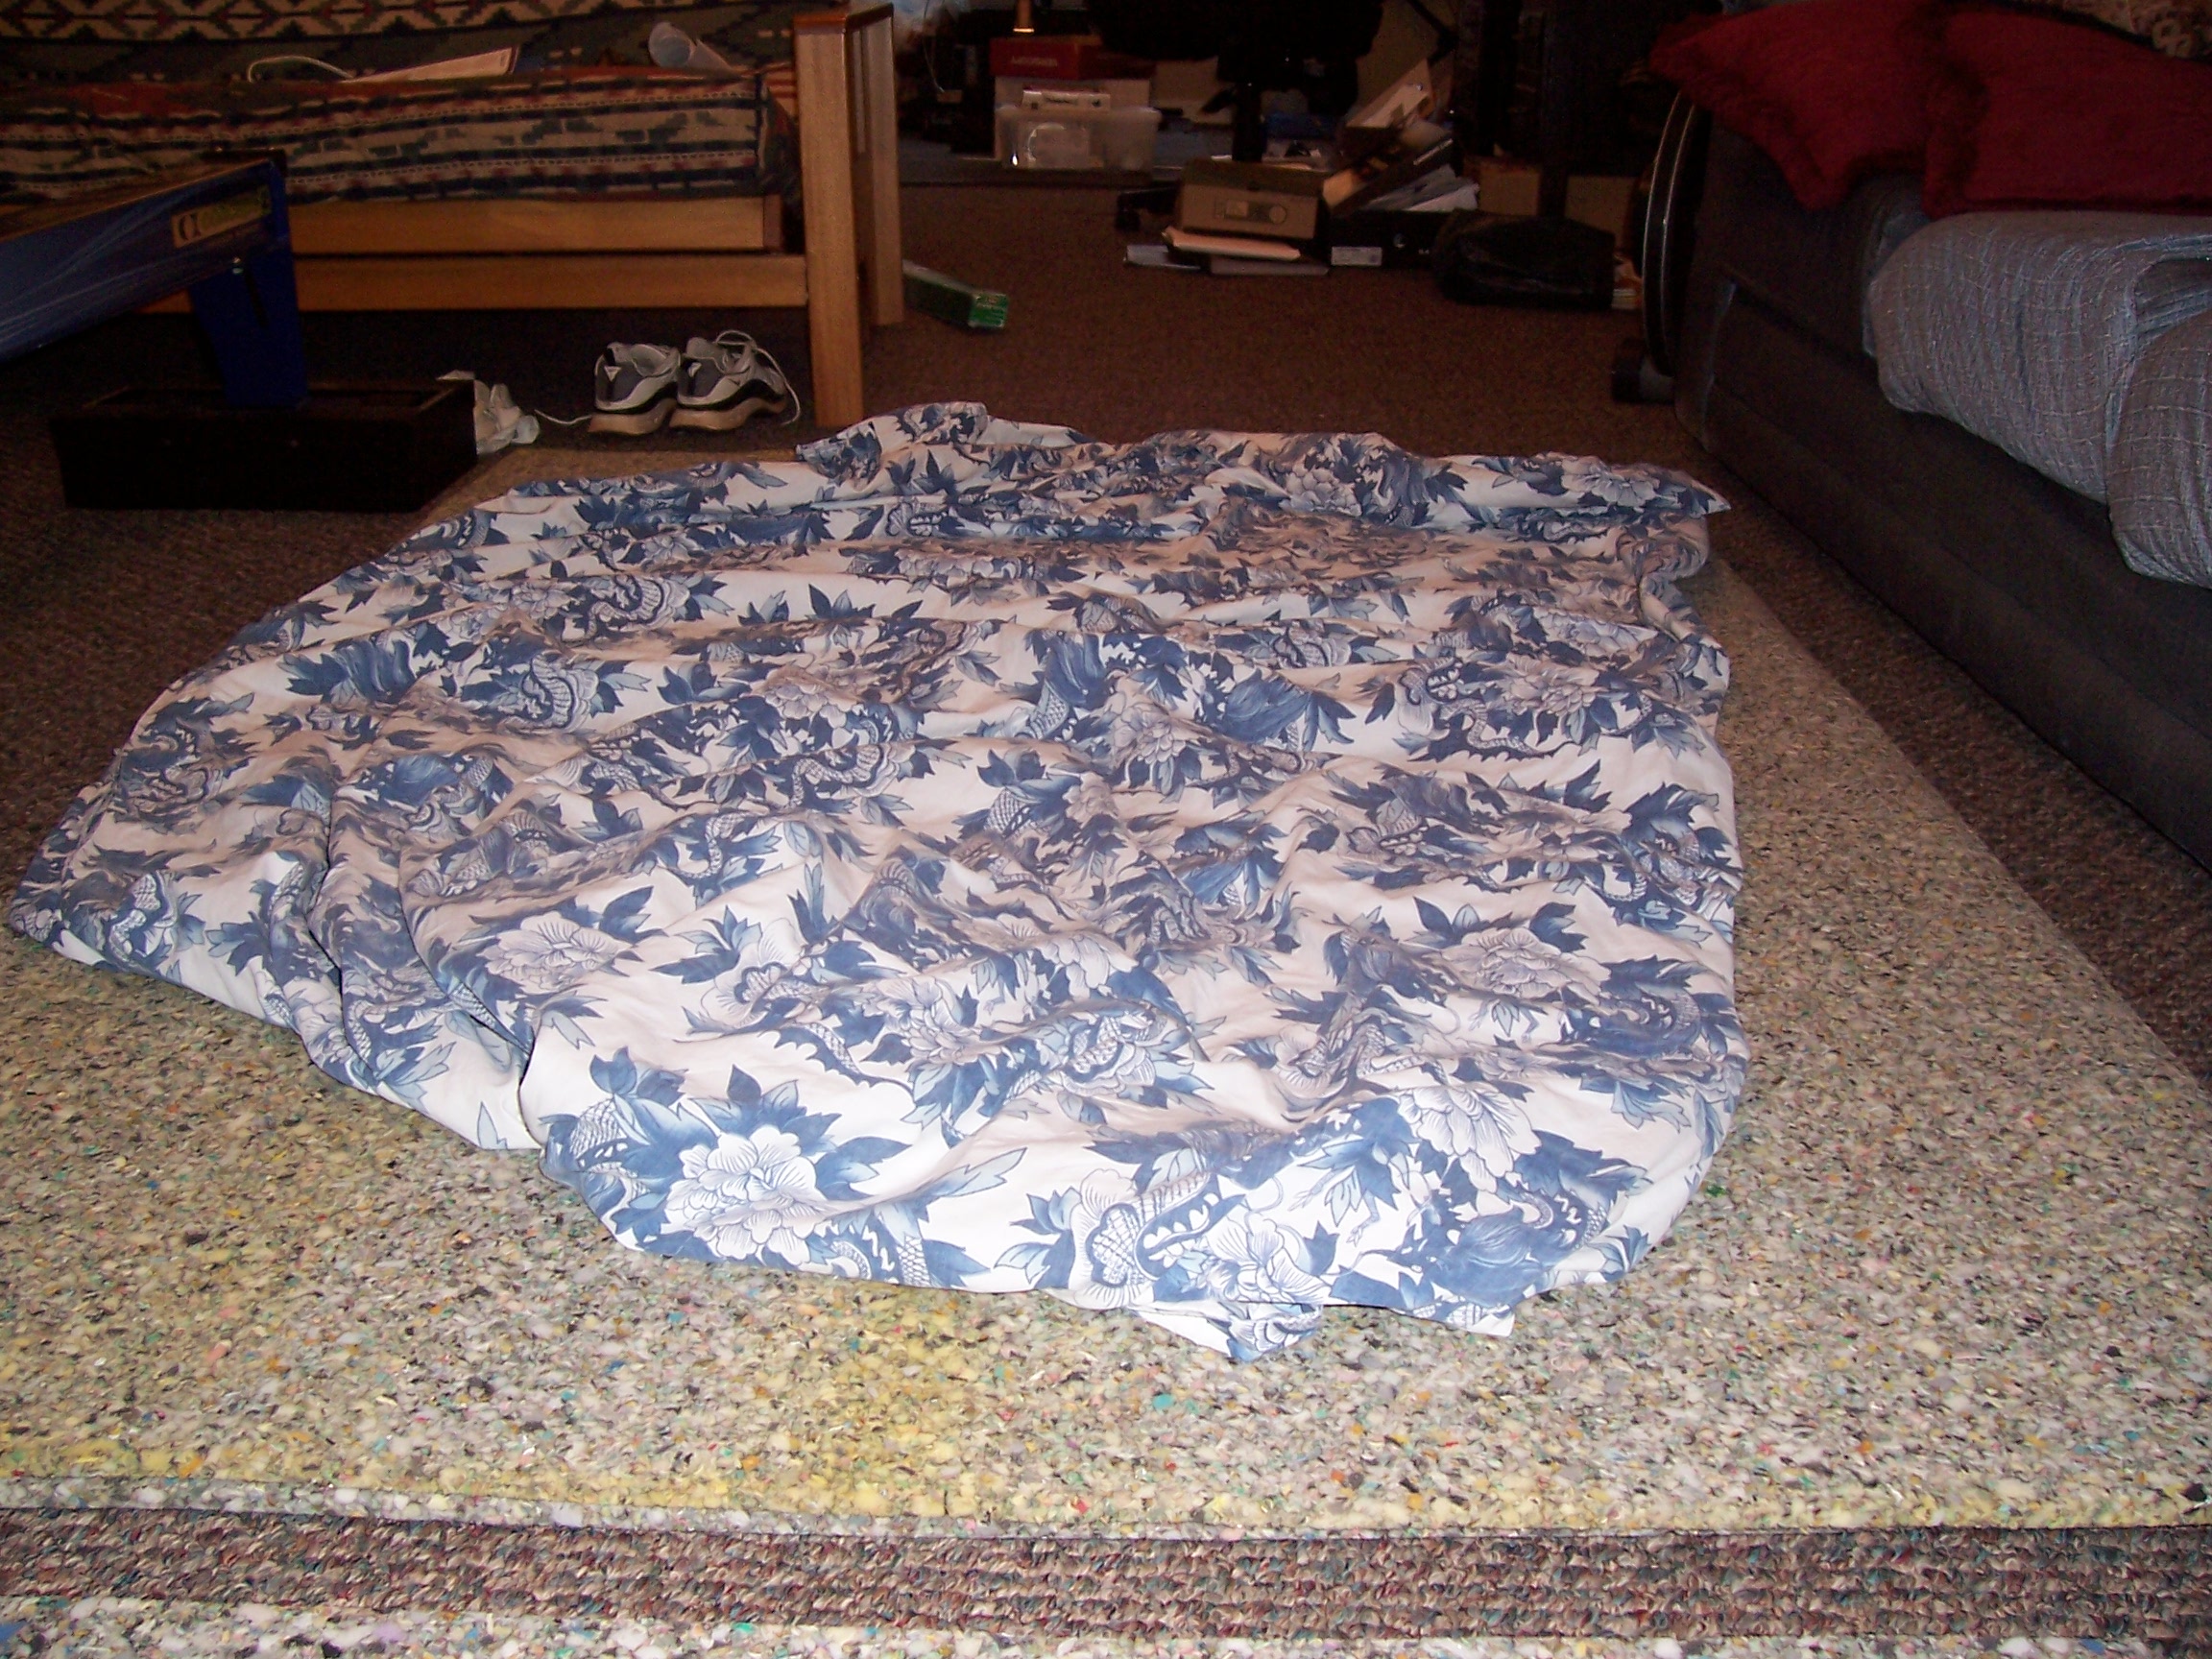
Step 1: Call a carpet store. You are looking for the padding that goes underneath carpet. My local store didn’t have any scraps that would work, so I ended up purchasing two pieces each 76″ wide by 45″ long. Cost: $15.87
Step 2: Stack the two pieces of padding on top of each other and make sure they are squared up. Mine weren’t so I trimmed it to be approximately equal.

Step 3: Go to a thrift store and buy a king size sheet. Cost: $4
Step 4: Sew the sheet into a giant pillowcase. You may need a ruler, tape measure, calculator and knee pads for this step. You’ll definitely want a sewing machine unless you’re just an animal and have a lot of time on your hands. The sheet I bought fit perfectly when I folded it in half lengthwise and sewed the bottom and sides up. At this point you’ll want to start thinking about how to close the top of the giant pillowcase. I chose to use Velcro, but snaps or ties would work. Or you could just sew it closed. I chose not to because I wanted to be able to remove the giant pillowcase and wash it occasionally.
Step 5: Go to the sewing store and buy something to close the top of your giant pillowcase (buy 2 times the amount you need if you’re making an outer cover).
While you’re at the store you may also want to buy some cotton duck fabric to make a more durable outer covering for your do-it-yourself Thai mat. I think I bought about 6.5 yards, but I don’t remember exactly and you’ll need to do math for the size of your mat. Oh and if you’re a math major (like me) and can no longer add without an Excel spreadsheet then the nice folks at the sewing store can help you figure out how much fabric you need to do the job. Very nice people in sewing stores usually. Cost: Velcro (free-I already had it from another project), Cotton duck – ~$40 on sale at Hancock Fabrics

Step 6: Hem the top of the giant pillowcase and install your closures.
Step 7: Put the giant pillowcase on the carpet padding mats. Good luck and get ready to crawl around on the floor and sweat.
Step 8: So now it’s time to figure out how to form all that cotton duck fabric into another giant pillowcase. Hopefully you kept notes from when you talked to the nice lady at the fabric store so you know how to put this thing together. I had to take two pieces of fabric and run it cross ways to the mat to make a pillowcase large enough. Since I didn’t take pictures during this step if you need better descriptors, just ask and I’ll be glad to help you.
Step 9: Hem and install the closures for the cotton duck pillowcase.
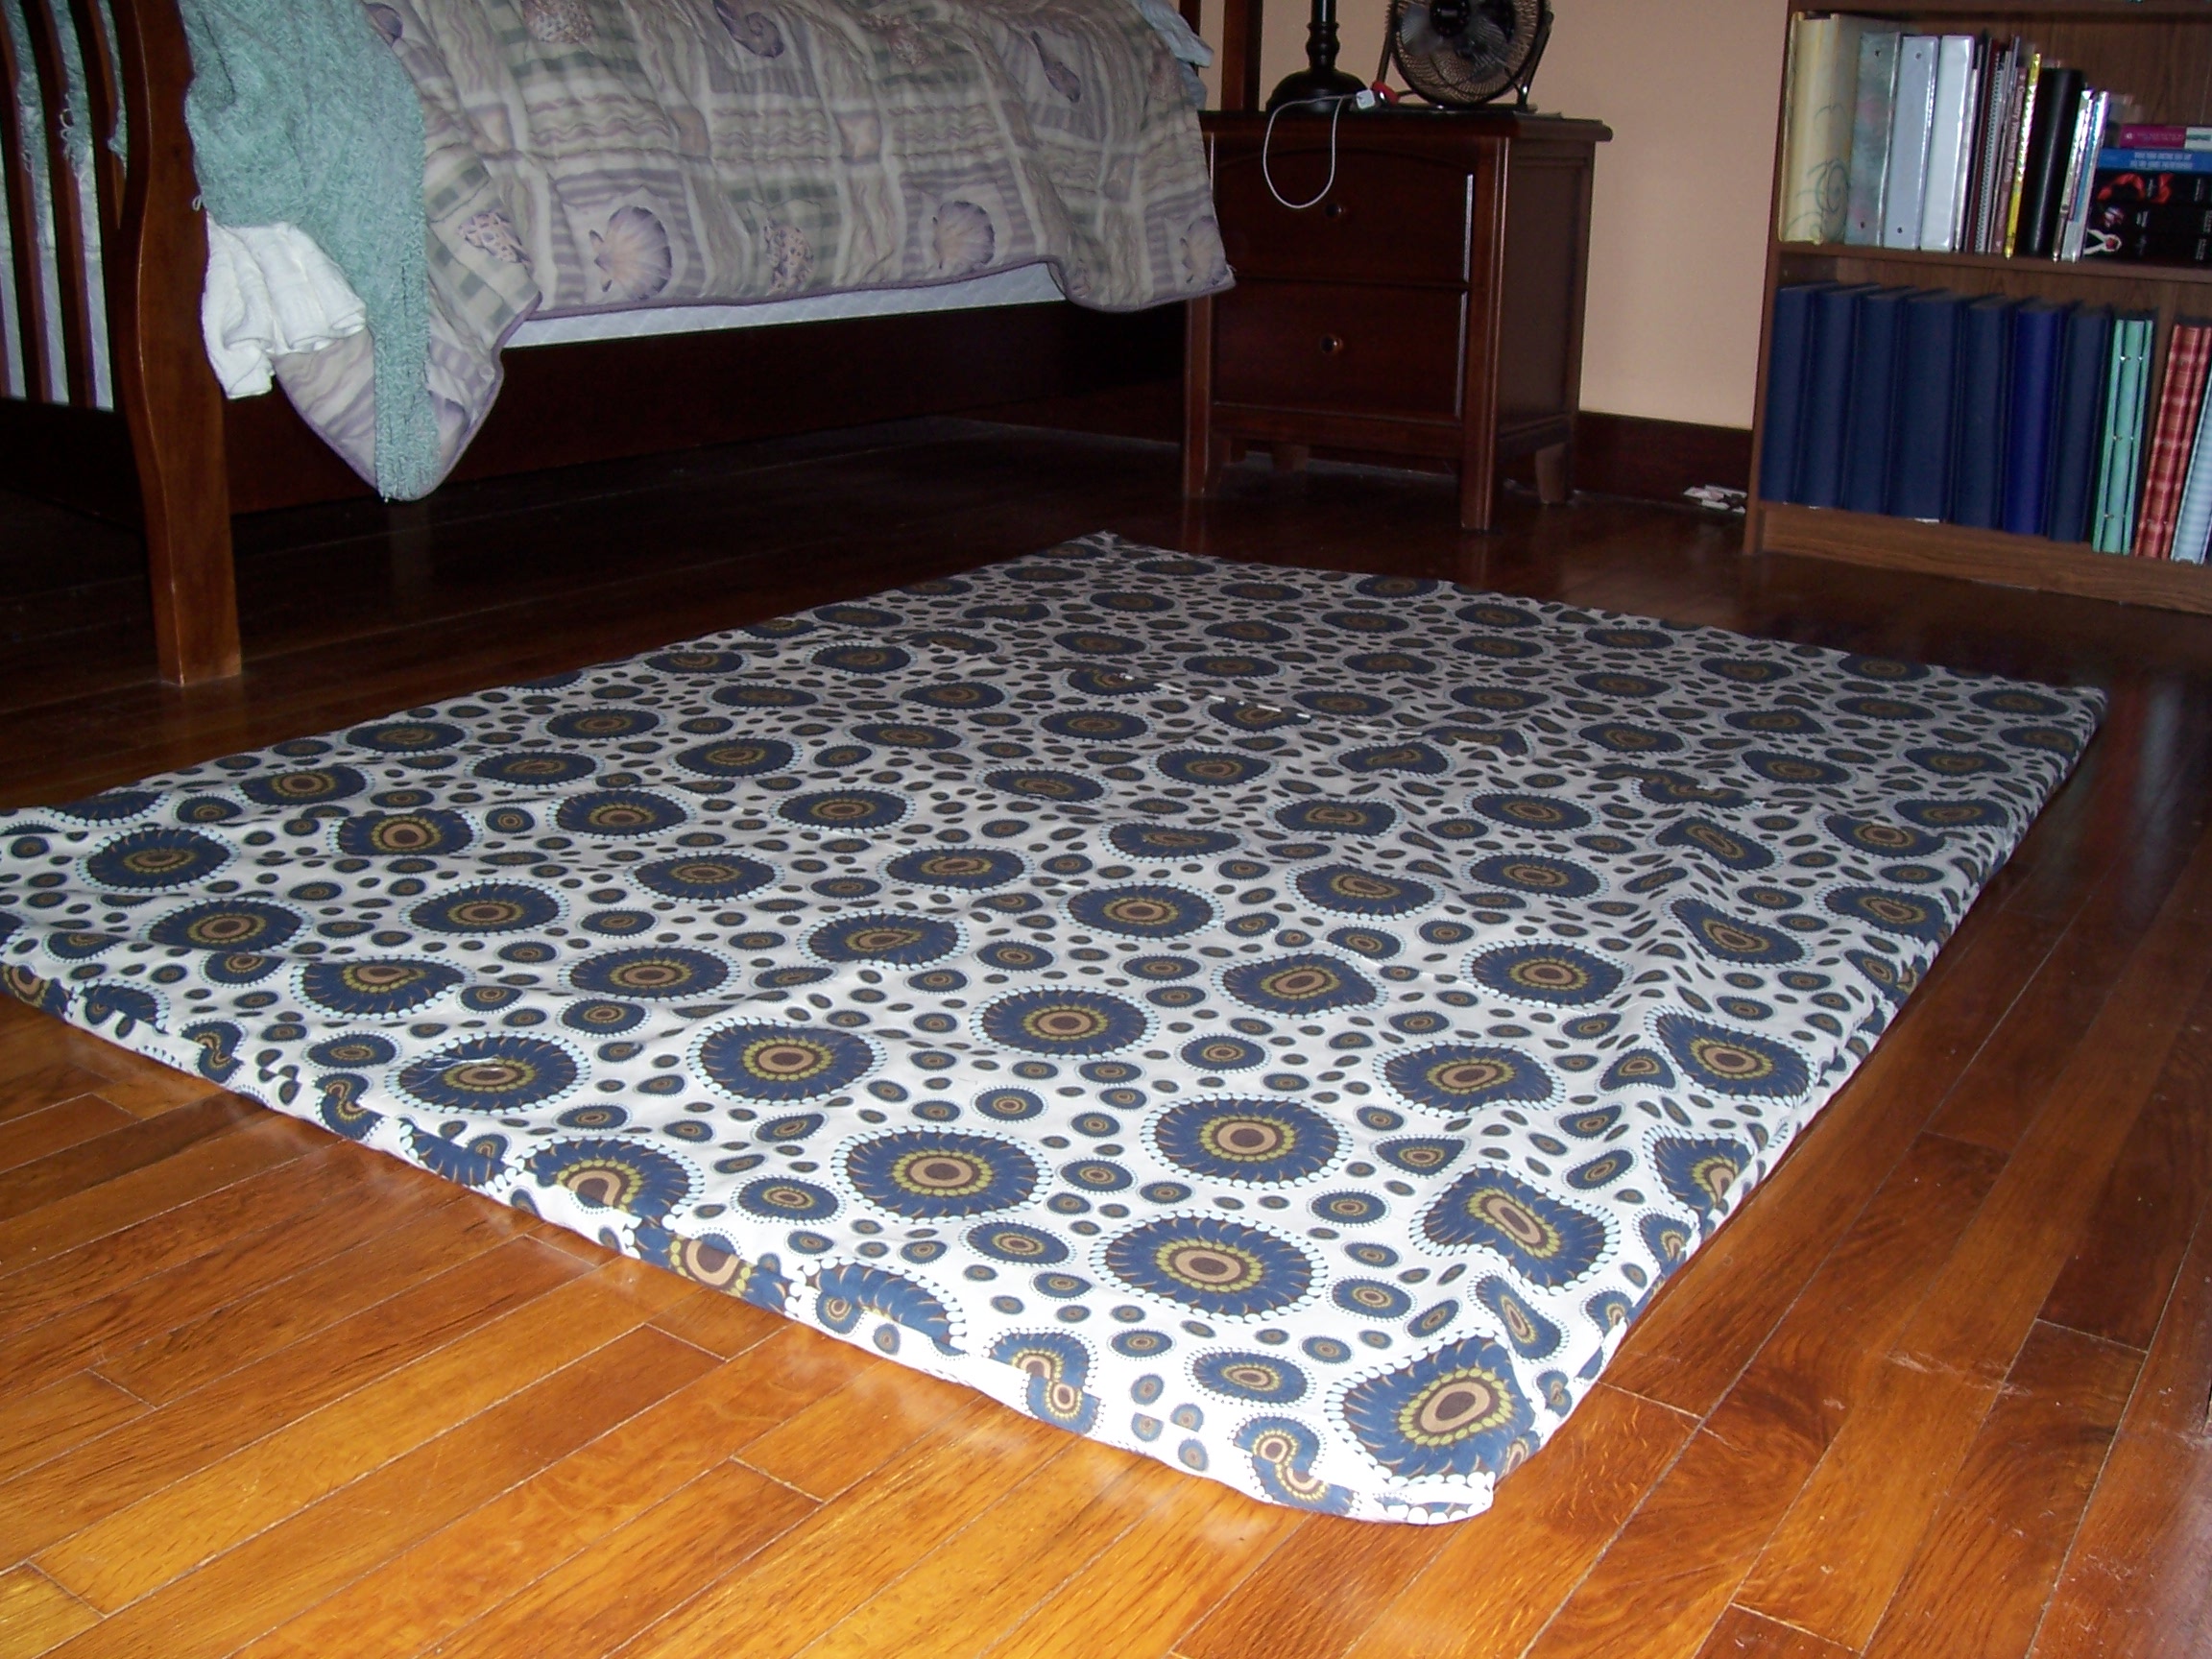
Step 10: Wrestle the cotton duck pillowcase onto the mat and Viola! You are done! And sweaty! But you have a nice soft place to lay down and take a nap 🙂
I will probably make some “pillows” using this method, but for now I’m just going to try to get through the rest of February before taking on any more projects.
So here for your convenience is a supply list: 2 sections of carpet padding cut to the size of your mat, one thrift store sheet sized appropriately, cotton duck fabric to cover your mat sized appropriately, closure notions (Velcro, snaps, or extra fabric to make ties), scissors, measuring tape and/or a hardware tape measure, coordinating thread, sewing machine, carpet cutting blade and maybe some other stuff I’ve forgotten about. And you’ll definitely want to think about a beer after you’re done, but only if you don’t have clients lining up already.
And if you’re keeping track of the budget this whole project cost around $60 which is about half the cost of the cheapest Thai mats I was looking at online.
I’ll have to let you know how it compares to the mats I learned on. Already it performed quite well on the hardwood floor in the house. I’ll be taking it to a Rossiter training and another Thai-Yoga training in the next few weeks so I’ll do a review on my own “product” as soon as I have some results to report.
If you decide to make your own, let me know how it turns out!

♥
 |
Harvest Moon Massage is Decatur, Alabama’s Newest Provider of Thai-Yoga Massage |

What a good idea and it looks comfy too!
love this idea. Will have to try this.
Thanks for the tutorial! This is definitely going on my “to-do” list for spring. Your mat looks great!
Pingback: More Thai Training | Harvest Moon Massage Therapy and Reflexology
Could you email this to me please. and also would a cheap mat for temporary use from Walmart be ok to use for a massage if you cant use your table
Hi Michaela, Massage has been performed on many surfaces so I’m sure a mat or towel or even the ground will work just fine for a bit of Thai massage. I’ve done Thai and Rossiter on all three surfaces. Just make sure the receiver is ok with it.
Is it easy to roll up and haul around? Thanks!
Actually yes, it’s very easy to roll up and haul. I made a couple of ties out of the same fabric and keep it rolled up under my massage table until I need it. The ties also serve as carrying straps and it’s not that heavy. Certainly, a lot lighter than my table.
thanks a lot!